
Build yourself an Egg, Inc. automatic chicken-tapper and get back to your real life
Watch It:
Read It:

This chicken-tapping robot taps the screen of your smartphone to release endless chickens on the game Egg, Inc… but only when you’re actually working.
The hack works by using a chrome extension to track what pages you visit, and check if they are on a list of “productive” or “unproductive” sites. It relays this info to a Particle Photon microcontroller inside the homemade chicken puppet, which holds down the button if you’re on a work site and stops holding the button if you’re browsing Reddit or Netflix.

Materials
- Computer, with:
- Google Chrome
- GitHub account
- Particle account
- your smartphone
- Particle Photon with
- Micro USB cable
- Breadboard
- Microservo
- Stylus
- Clamps or plastic structure
- You can 3D print the structure I used with the .stl in the repo
- 3 male-to-male jumper wires
- Hot glue
- A pair of old socks and some felt (optional)
1) Get the code here
2) Switch Chrome to developer mode

3) Add the extension

4) Go to build.particle.io. Connect your Photon if you haven’t already, using Particle’s instructions.
5) Get your device ID and access token from Particle Build. The Device ID is under the “devices” drawer and the access token can be found in “settings.”

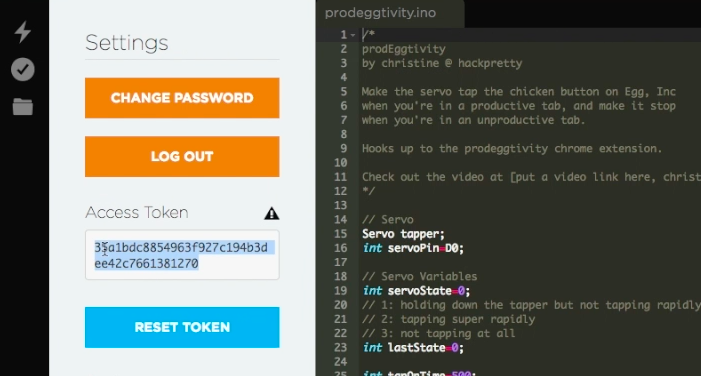
You can see my access token in these videos only because I immediately reset it after taking the videos. Never share your access token with anyone, unless you plan to immediately reset it. Your access token is like your password, and if someone has it they can get into your devices.
Add your device ID and access token to the options in the prodEggtivity Chrome Extension, and save your changes. You can also customize your productive and unproductive pages here.
6) Copy the code from the .ino file you downloaded into a new app on Particle Build. Save it.
7) Hook up the servo: Plug your Photon into the middle of the breadboard. Plug the darkest wire into ground, the red wire into 3v3 or VIN, and the remaining wire (the data wire) into D0.


8) Upload the code to your Photon by clicking the “flash” button. The LED will flash purple, then cyan.
9) Test the extension– if you go to a random page, the servo will tap up and down. If you go to the Particle IDE, gmail, or Todoist, the servo will stay in the “down” position. If you go to Reddit or Netflix, it should move to the “up” position.
10) Finish assembling your robot by gluing the stylus to the end of the servo arm, and gluing the servo into a secure structure like the plastic one shown in the video. You can also make a tiny sock puppet of a chicken and put it over the entire robot, with the stylus sticking out of the beak.
You’re done! Enjoy your prodEggtivity.